Painting Cast Urethane Parts

Many modelmakers, prototypers and molders of polyurethane parts must paint cured plastic surfaces to attain a production-quality finish. Some customers avoid painting by color-matching the selected polyurethane to the desired shade. RAMPF specializes in color matching our materials to virtually any Pantone color. However, for projects that require painted surfaces, the following procedures can help ensure high-quality results.
Before beginning, remember that saving time via “shortcuts” is a fast way to produce reject parts! Though the recommended steps may seem laborious at the start, once the needed materials are gathered and the process is established, the painting procedure should flow smoothly with excellent results.
Polyurethane Characteristics
While virtually all polyurethanes can be painted, coatings do not adhere to every resin system in the same way. Generic paints, for example, are well suited for coating rigid materials but tend to crack when applied to softer plastics that bend.
Therefore, before attempting to coat any polyurethane surface, molders and prototypers must determine the flexibility of the material. In general, polyurethanes with a Shore hardness of less than 90A require use of special primers and paints or lacquers formulated with flex agents. The best source for these specialized paints is an auto body equipment supplier.
Painting Process
The quality and durability of coated polyurethane surfaces are directly affected by four factors:
- Proper resin/hardener mix ratio and curing
- Cleanliness of part surfaces
- Abrasion/etching
- Priming and painting
1. Molding Parts
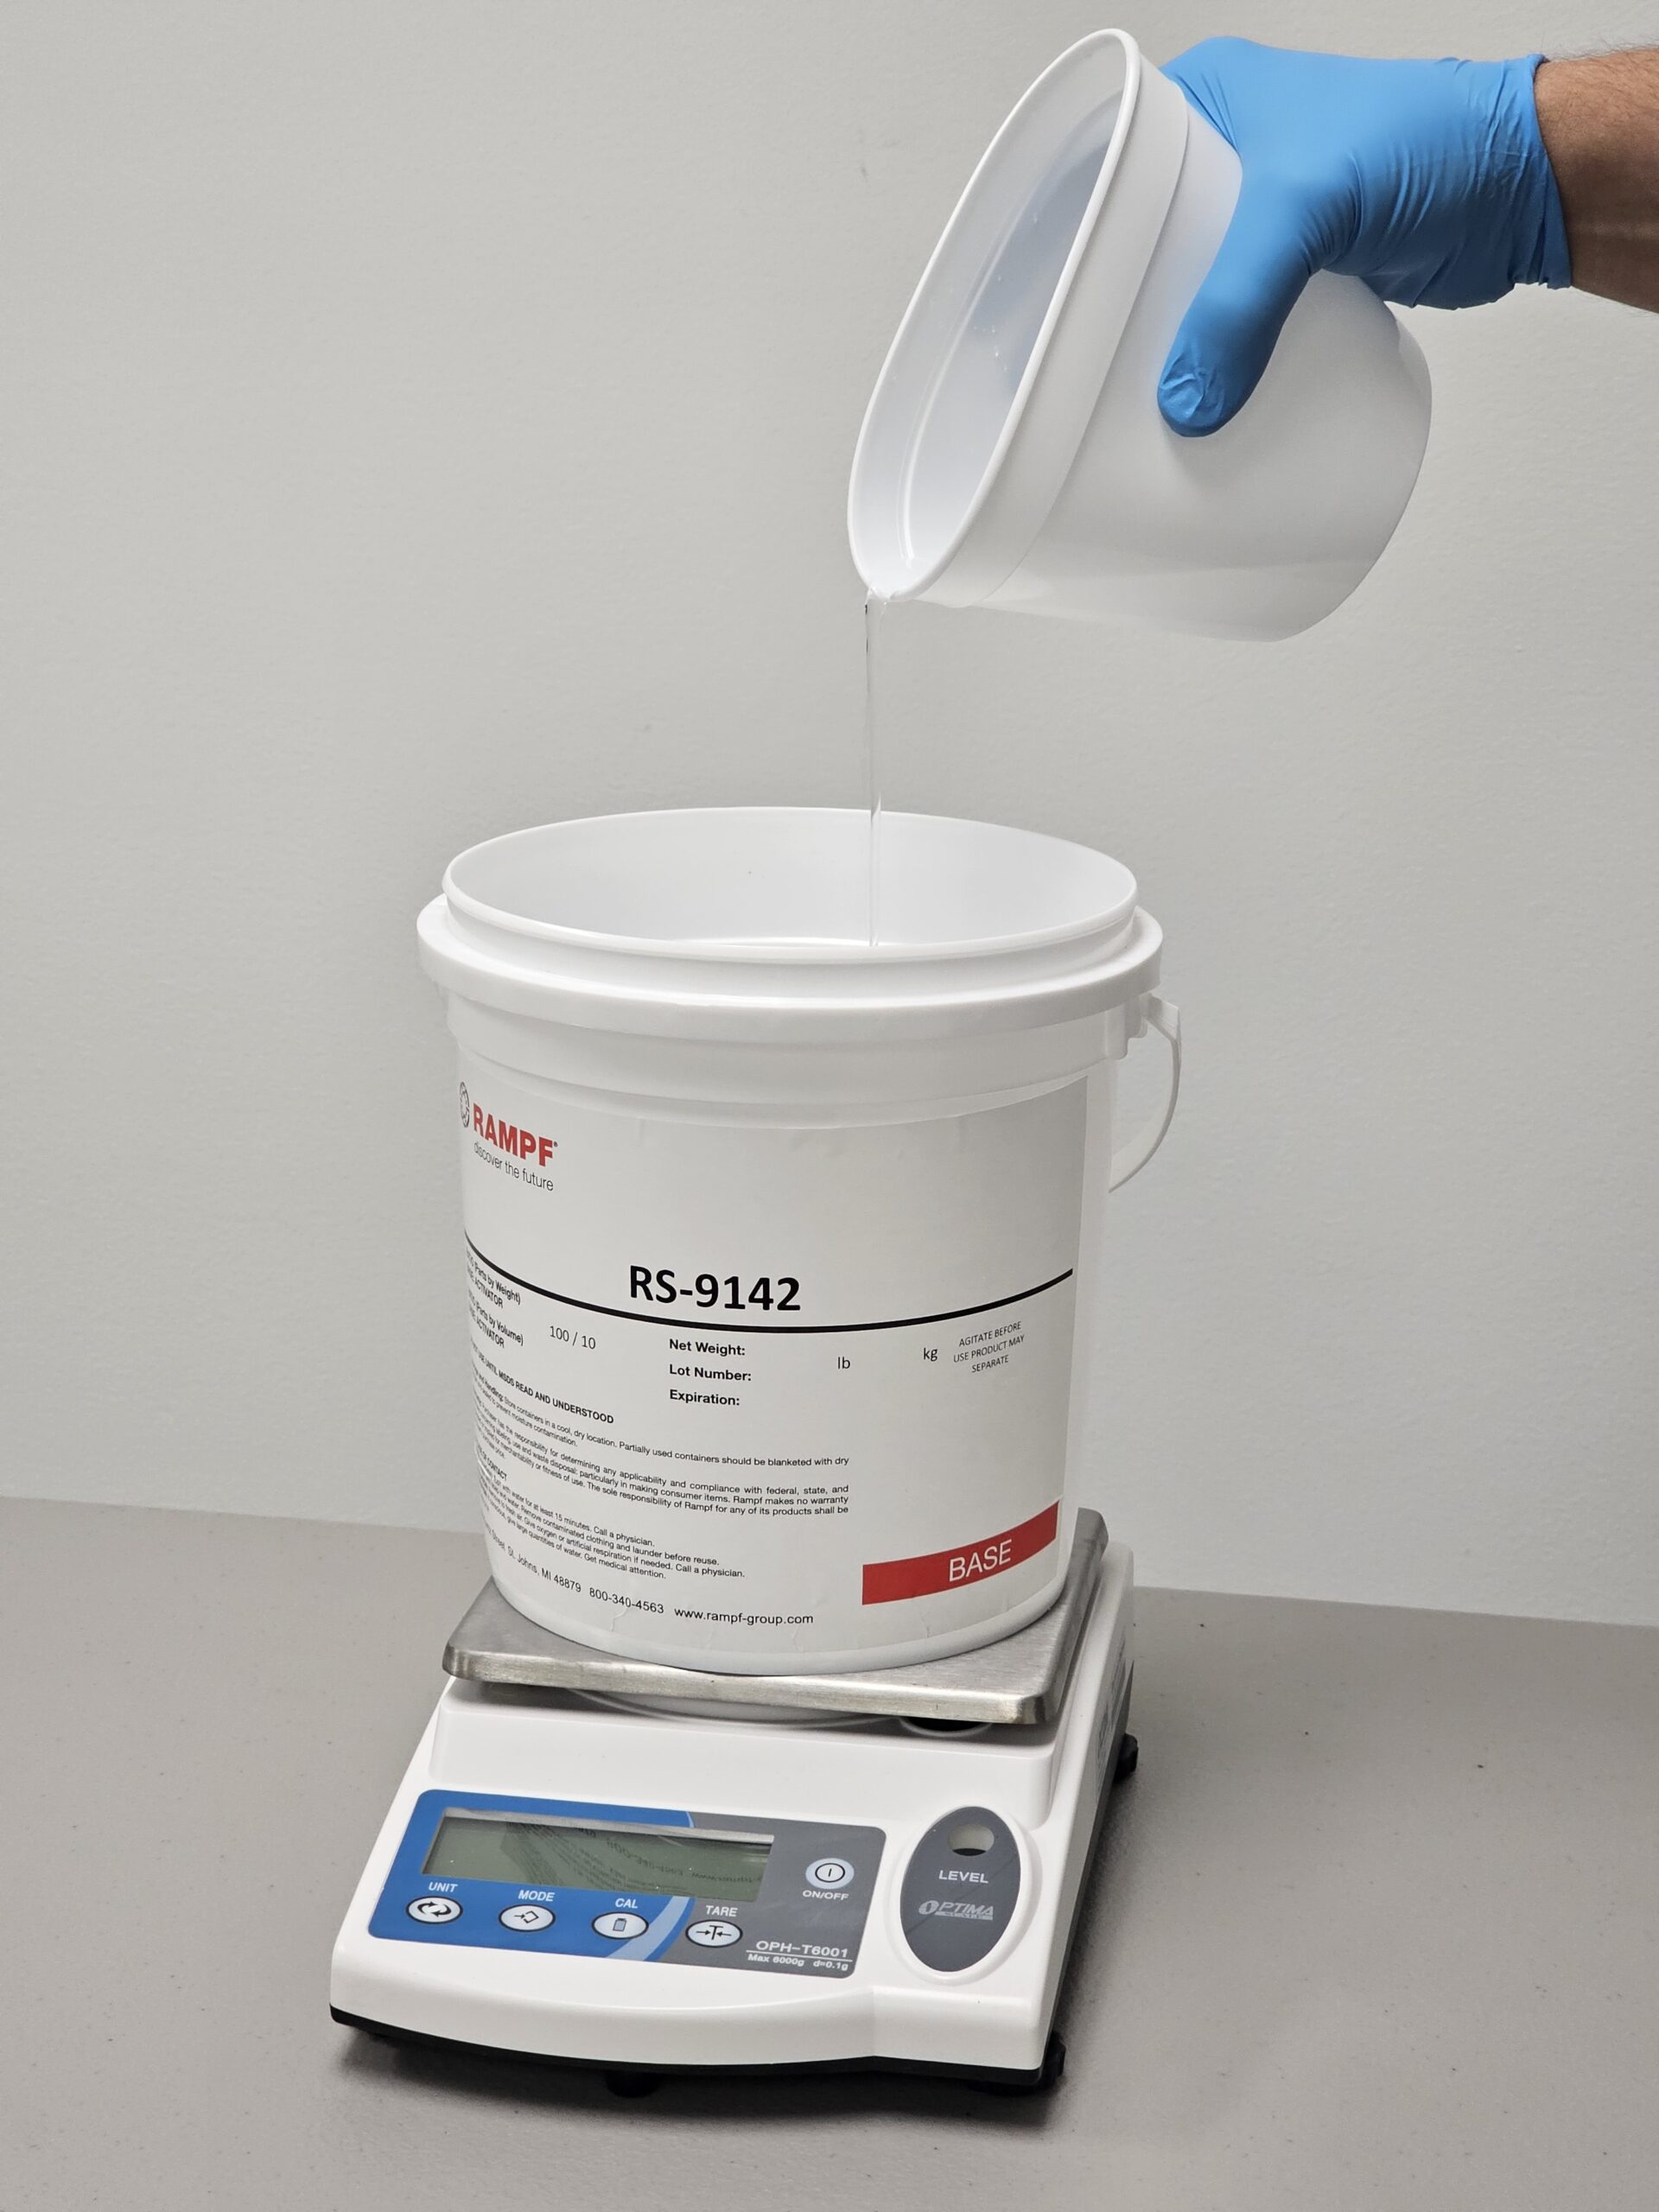
Accurate mix ratios, precise weighing and thorough mixing are keys to molding high-quality parts. NOTE: RAMPF suggests agitating resin and hardener before mixing to disperse all system components. After pouring parts, cure completely for at least 24 hours at room temperature.
NOTE: If cured polyurethane parts are oily and “slippery”, rather than dry and smooth, attempts to paint surfaces will be futile. The typical cause of these problems is improper mix ratio and/or incomplete curing.
2. Cleaning.
Cured surfaces must be thoroughly cleaned before painting. Begin by eliminating any residual contaminants such as release agents that may have been sprayed on mold surfaces. For this cleaning process, scrub surfaces with warm, soapy water. NOTE: Many RAMPF customers have found that Dawn brand liquid dish soap is particularly effective in removing release agents, grease and oils from polyurethane parts.
After cleaning, thoroughly rinse parts with water to remove any remaining soap and allow to dry. NOTE: Some customers also wipe surfaces with alcohol before proceeding.
3. Abrading
Next, etch parts using a fine-grit sandpaper, sandblasting or bead blasting. This step will produce small pores in the polyurethane surfaces, promoting a strong bond between parts and paint.
After etching, clean parts once again using soap and water or a grease and wax remover to remove any contamination that occurred during sanding.
4. Priming and Painting
Begin the coating process by applying an automotive primer to surfaces. Allow this first coating to dry thoroughly and then etch and clean surfaces once again. Priming is an important step to ensuring the successful coating of parts with paint.
For the top-coat color, customers have found that automotive lacquers are ideal. It is critical to follow manufacturer’s instructions for use of the selected paint. Coat surfaces with a minimal amount of paint; using multiple thin coats rather than one thick layer. If excessive paint is applied to a polyurethane part, drying time can increase significantly and even cause parts to warp before the coatings fully cure.
For assistance with specific coating challenges, or more information about custom pigmentation of urethane casting resins, contact RAMPF at 248.295.0223, or through e-mail at rgi-officestj@rampf-group.com.
Talk to the team
Have questions about a product? Want something custom made just for you?
Get in touch with one of our expert sales-representatives for more information about our products.

